

The Truth About IP65 Heaters: Why the Wiring Usually Fails
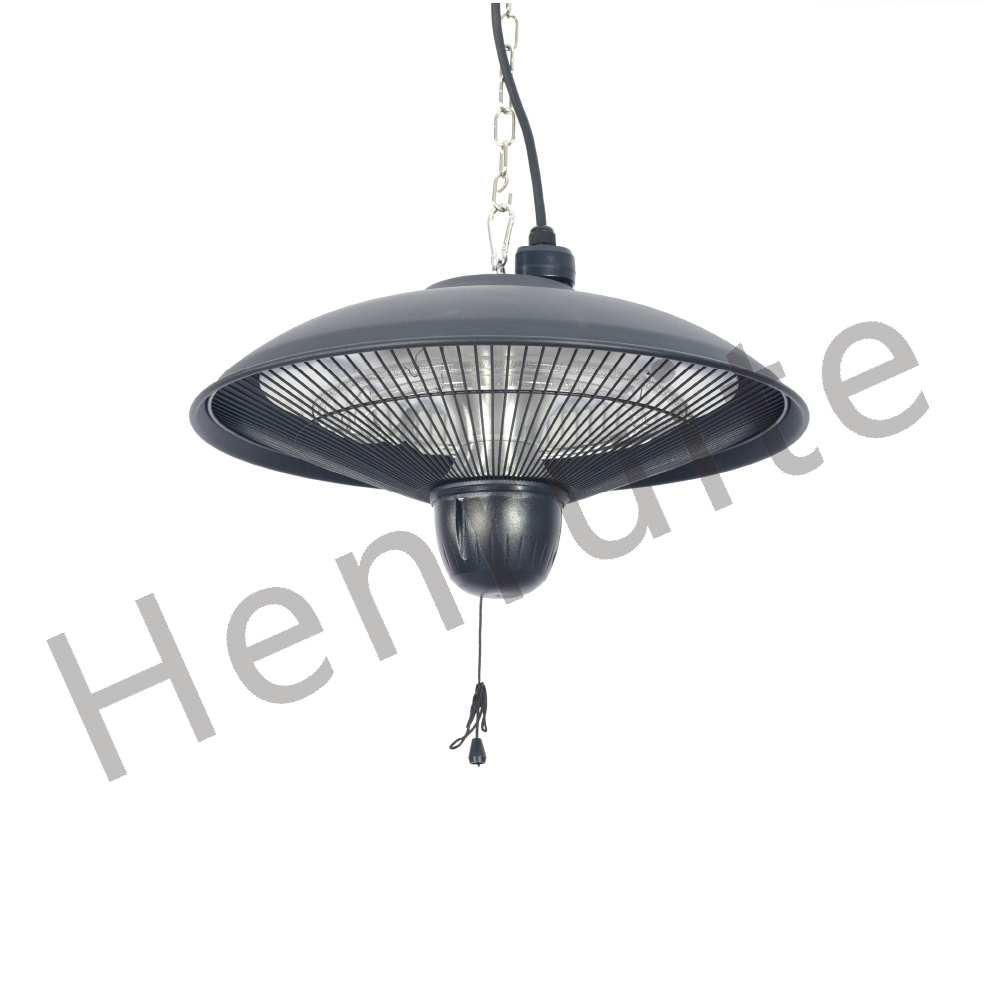
You’ll see “IP65 rated” on almost every outdoor infrared heater these days. But here’s the thing: the heater’s body is rarely what gives out. The real trouble starts where the power cord enters the housing. In these high-wattage systems, that little junction becomes a heat bridge. If the sealing is sloppy, heat just crawls right back into the wiring. Not a good look.
Why Heaters Get Old (And Break)
Most standard sealants just can’t handle the constant “on-off” cycle of a heater. Think about it. You’ve got a quartz tube, a metal shell, and some silicone—all expanding and shrinking at different speeds. Eventually, tiny micro-gaps open up. That’s when moisture sneaks in. Once water hits a wire that’s already been baked brittle by the heat? You’ve got a short circuit. We see this all the time with those “budget” heaters. They use generic gaskets that turn rock-hard and crack after one rough winter.
Doing it the Right Way
If you want to stop the short-circuiting, you can’t cut corners on the seal. We use high-temp fluorosilicone or specific epoxy resins that stay flexible even up to 250°C. But the secret isn’t just the glue—it’s the anchor. We mechanically lock the wire in place before sealing it. That way, the wire doesn’t pull away from the seal when someone is tugging on it during installation. It’s not just about blocking rain, either. It’s about managing the heat. We use a graded insulation transition to push the heat away from the copper, keeping the guts of the wire safe.
One Quick Warning
There is a trade-off here. Because the seal is so tight and secure, the wire is a bit stiffer right at the entry point. You can’t just yank it into a sharp 90-degree bend to fit it into a tiny bracket. If an installer forces it, they’ll crack the seal, and you’re right back to square one. Just make sure your mounting plan leaves enough room for the cable to loop naturally. Your heater will thank you.